Last year for Christmas for my Bunco group I made them simple little calendars using a CD case. I marked the dates that we were playing Bunco each month for the coming year. This gift went over so well with the group that I thought these would go over well to others. These could make great stocking suffers. My kids love having a calender of their own and this would be right up their alley. It's also a great way to recycle all those cd cases that we have laying around.
Now that the time of year to start thinking about what you going to give everyone for Christmas is coming I thought I would share a tutorial on how to make them. You could even make a bunch up to have as little back up gifts. You could even use pictures of your kids and give them to the grandparents.
Here is what you will need:
CD case
Calendar print out
Calendar cover print out
Thin cardboard (I used a cereal box)
Aleene's Tacky glue or notebook compound
The first thing you need to do is prepare your CD case
Some case have a black bottom but the one I had was clear so I actually painted it with a couple of coats of black paint and then taped a black piece of paper into it. (sorry I don't have pictures of this)
Then you remove the lid and you will want to remove some of the plastic off of the side so that the lid will swing around to the back. See how it is stopping the lid from opening
About where that little hole is where the arrow is pointing you will want to score the plastic.
I do that by using a utility knife and with firm pressure I push down on the plastic.
then starting on the end and up against the case you will start removing the plastic.Using very firm pressure it will start to chip off. It will actually break off where you scored it.
Repeat on the other side
See where it is broke off. I know that it doesn't look that pretty but it really isn't that noticeable.
Now the lid will swing back and stand up by itself.
Now we will make the calendar.
I created the calendar in MS publisher. You want the total size to be 4 3/4" L x 4 5/8" W. Print them out and make sure they are in the right order (don't ask me why I added that part in lol).
.
Then you cut your cardboard to the same size.
Then stack them all together and using binder clips, clip them together making sure that the top edges are as even as possible.
Using Aleene's Tacky Glue you will glue the top edge.
I just my finger to spread the glue on but you can also use a brush.
Make sure you get a good even coat over the whole edge. Then you will let it dry for about an hour.
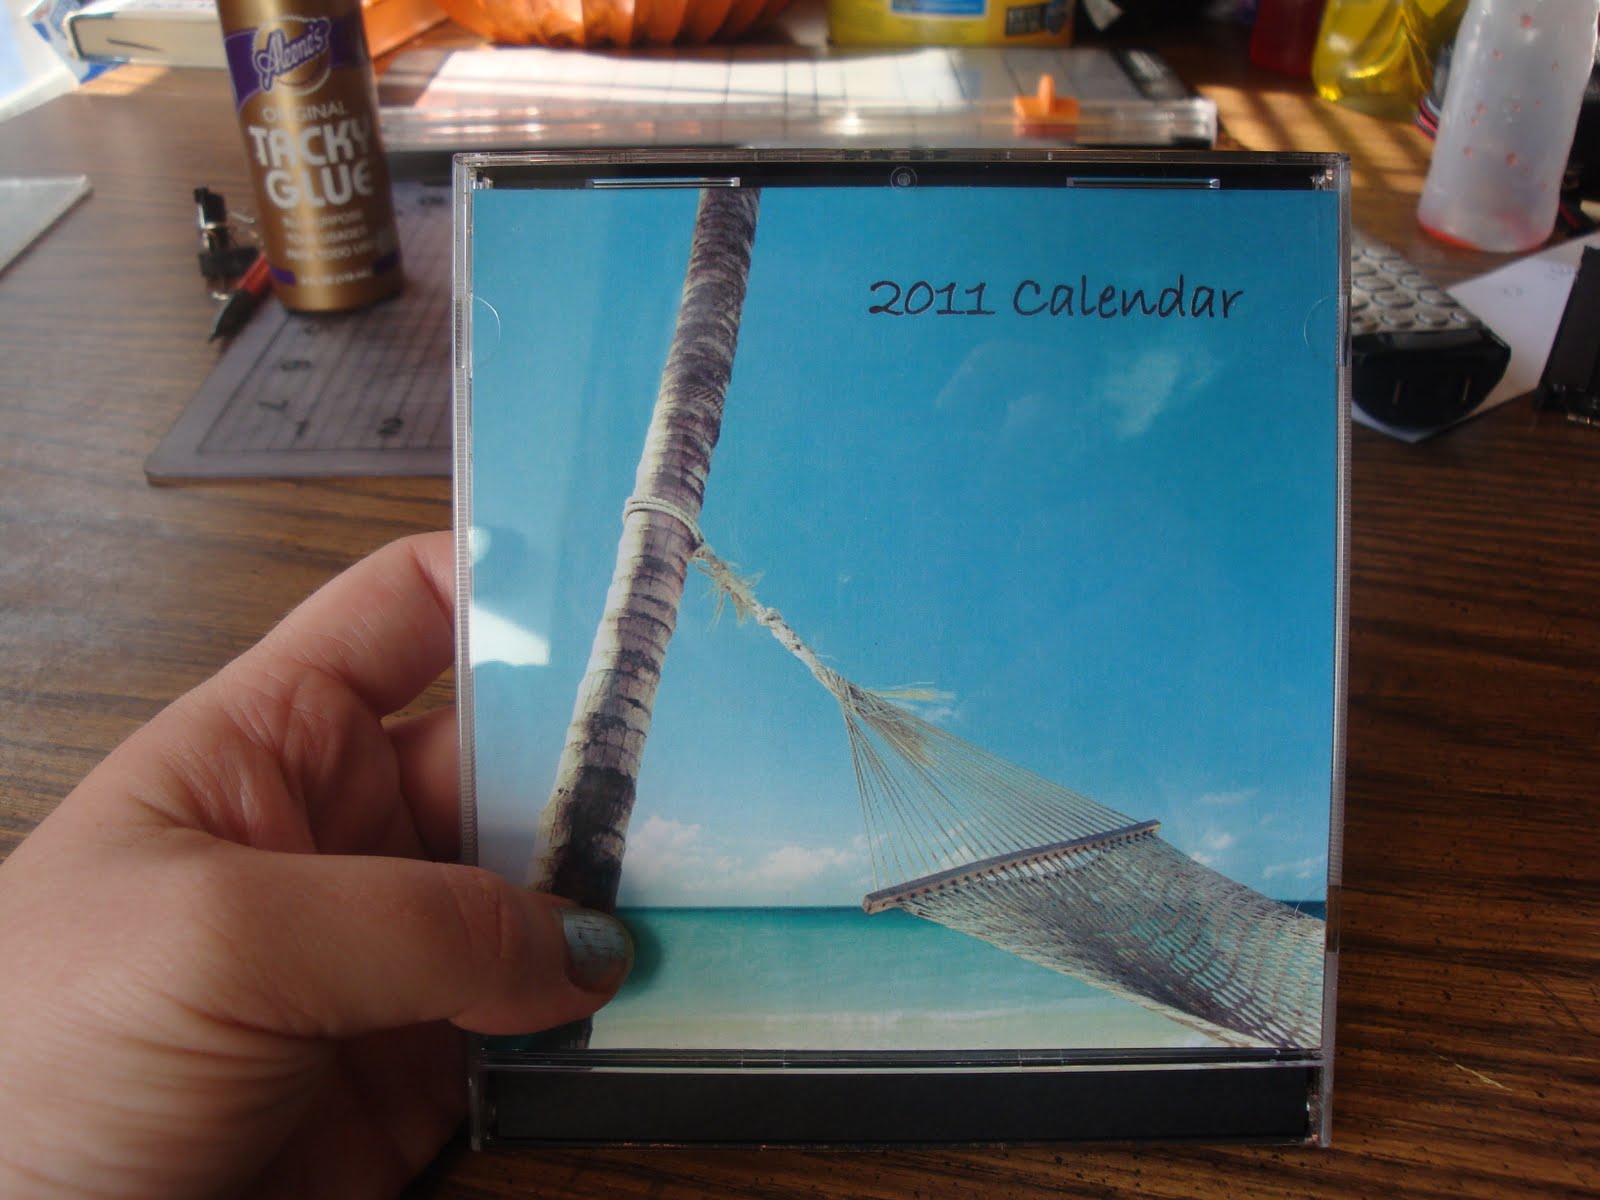
Now it is time to cut out the cover. It could be of any picture you want. The size it needs to be to fit in the lid is the length needs to be slightly over 4 3/4" and the width needs to be 4 3/4".
Once the notepad calender is dry you will want to slip the cardboard in behind the cover letting the rest be in front of it.
There is your calendar. That stands up on its own.
Here is the view from the back side.
When the month is over just tear it off and you have the next month waiting for you.
Here is the image I used for my Bunco group last year.
Here is a bunch of images that I came up with for covers.
If you have any questions or need me to clarify anything just let me know.
Linking up with


Get Your Craft On
 Kelly
Kelly


I''m going to forward this to my oldest daughter. Looks like something she could make for Christmas gifts this year! Thanks!
ReplyDeleteWhat a cute idea!
ReplyDeleteWow, thats a great idea! I'll have to try that :)
ReplyDeletePopping by from Show & Tell Saturday :)
Thanks for this! I wanted to make these last year but didn't because of that little piece of plastic! I thought people must be able to buy special CD cases for them. Ha ha. Now I will be hacking into my stash instead. I will send you a photo when I am done.
ReplyDeleteThis is an excellent idea and wonderful Christmas present ideas! Thanks so much. Your idea is inspiring.
ReplyDeleteI love this! What a great Christmas gift. I'm hosting We;re Organized Wednesday until this Saturday and would love for you to join the party. There's an awesome giveaway too. Hope to see you there.
ReplyDeleteThanks for linking to We're Organized Wednesday. I'm featuring this tomorrow.
ReplyDeleteThis is a-dor-a-ble! So easy, cute, personalized, and useful! The perfect little gift to have on hand for drop ins at holiday time. Although anyone who drops in at my house is getting a cover with my kids on it! Thank you for a great idea and wonderful tutorial.
ReplyDeleteThank you for this cute tutorial. I am ashamed to say that I have a whole box of jewel cases I just cannot bring myself to throw out. This looks like a great project to use some of them up. I featured your tutorial in a roundup of calendars on my blog www.boutiqueit.blogspot.com. Sarah
ReplyDeleteThank you so much Sarah for featuring me on your site. I checked out your blog and it looks fabulous.
ReplyDeleteSo crafty clever. Will have to try this while I'm off this summer. :)
ReplyDeleteWhat a great idea! That's why I've given you the versatile blogger award! http://www.lovelycraftyhome.com/2011/05/03/versatile-blogger-award/
ReplyDeleteLove it! Its so cute!! Bookmarked it :)
ReplyDelete